Quercus Add People

Instructors may wish to add TEACHING ASSISTANTS or other individuals to their Quercus course. Quercus allows you to select from a number of course roll types, each with different levels of access. Course roles include: student, unregistered student, TA, course staff, grader, teacher, designer, library, and observer. Learn more about course role and permissions.
If the course has ended and the +People button is greyed out it is possible to add course staff. See the “Add users after Course Ends” section below for instructions.
Where can I get more support?
Related resources / similar tools
How to Get Started
Add someone to your course using the People tab on your course Navigation bar.
Instructions
-
To Add People to your course:
-
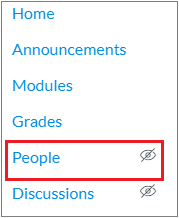
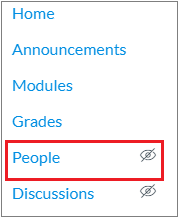
- In Course Navigation, click the People link.

- Click the Add People button.

- To add a user, you can search for users with:
- Email addresss
- Login IT (the user’s UTORid)
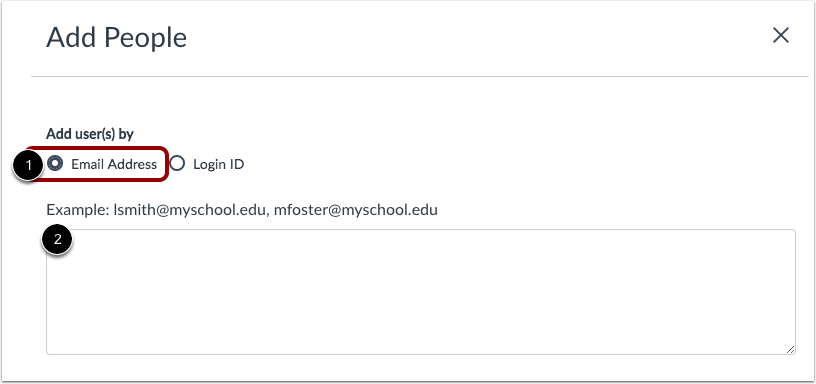
- Search by Email: By default, the search field is set to search by email address [1]. In the text field [2], enter the email address for the user. You can copy and paste multiple users at one time, such as from a comma separated value (CSV) file, by placing a comma or line break between users.

- When searching by email address, the user’s institution-assigned email address should be used whenever possible. For the majority of institutions, each user should have an email address associated with the user’s account and may be the same as the user’s login ID.
- Instructors can add users through one of several formats, which also support user names:
-
- “A User” <auser@example.com>
- “B User” buser@example.com
- cuser@example.com C User
- “User, D” <duser@example.com>
- euser@example.com
-
- In Course Navigation, click the People link.
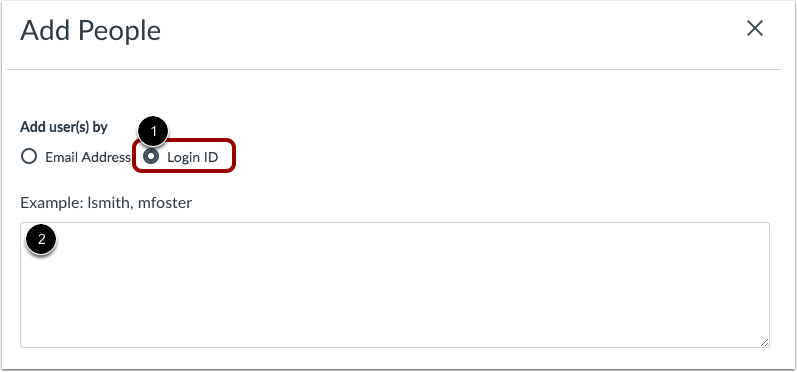
- Search by Login ID: To add a user by login ID, select the login ID button [1].

- In the text field [2], enter the UTORid for the user. You can copy and paste multiple login IDs at one time by placing a comma or line break between login IDs.
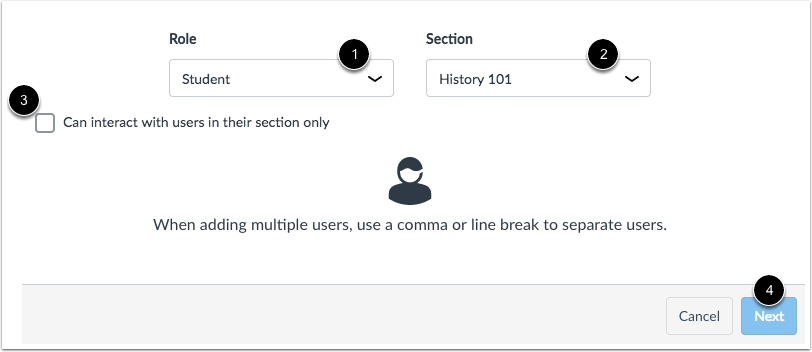
- Select User Details: In the Role drop-down menu [1], assign the user(s) a role for the course based on available course roles.

- In the Section drop-down menu [2], assign the user(s) a section in the course.
- If you want to limit the user(s) to only interact with other users (Links to an external site.) in their section, click the Can interact…checkbox [3].
- Click the Next button [4].
- Note: If you are adding multiple users at the same time, all users inherit the same role and section.
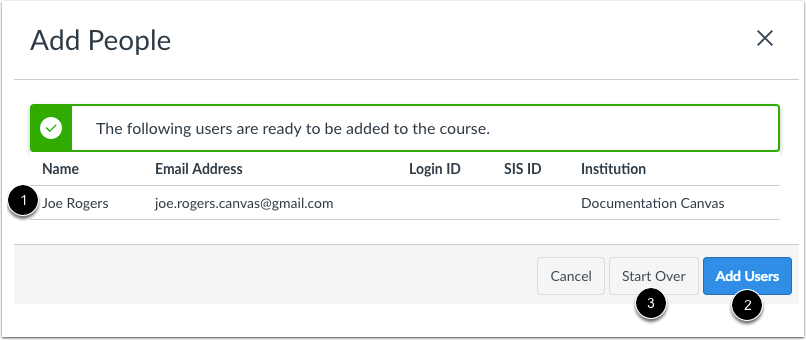
- Add Existing Users: If Canvas finds an existing user, you can confirm the user before adding the user to the course [1].

- The user’s name displays in the page along with the user’s information you used in the user search. Although Canvas may display additional search columns, existing information in a user’s account will not be displayed.
- When you are ready, click the Add Users button [2].
- If Canvas did not find your intended user, you can click the Start Over button [3].
- View Search Results:

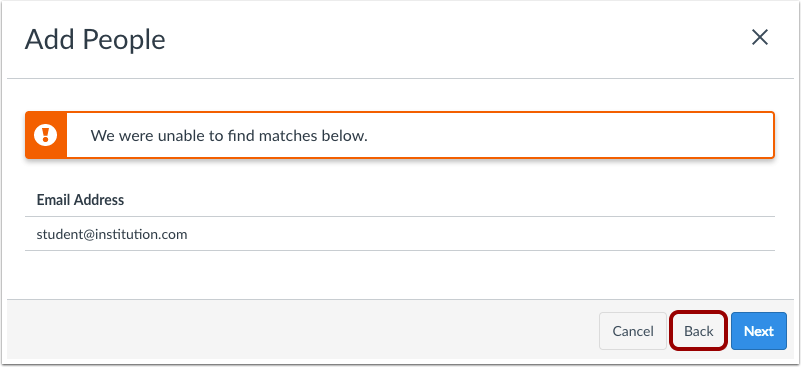
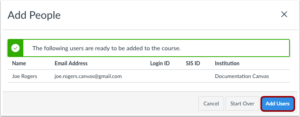
If Open Registration is disabled for your institution and Canvas is not able to find a match for the user(s), Canvas will notify you that a match was not found. - Add Users: Confirm the users you are adding to the course via your selected search method. Click the Add Users button.

-
-
Instructors may wish to add course staff (e.g., instructors, TAs, staff) AFTER the course end date. This could be used for adding an instructor who will be teaching a course in subsequent years, allowing them to access information.
The +People button will not be available after the course has ended and +People will be greyed out. However, it is possible to add course staff by “reopening” the course, adjusting the Quercus course end date, and then closing the course.
How to Add People after a Course Ends
After the course has ended, the +People button will be greyed out. Follow these instructions by “reopening” the course, adjusting the Quercus course end date, adding someone, then closing the course.

Select a Quercus course.
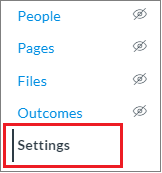
Click Settings in the course navigation menu.

1. Select a Quercus course
2. Click Settings in the course navigation menu
3. Double-check that you are in the Course Details Tab and locate the Participation option(you may need to scroll down the page).

4. If Participation is set to Term, you will need to switch it to Course using the drop-down menu.
5. Enter a new end date in the future.
6. Click Update Course Details.

7. Click People in the course navigation menu and follow the steps on How to Add People to your Quercus course.

8. To re-close the course select Settings in the course navigation menu – In Course Details, locate the Participation option and switch it back to Term

Last Modified:
18 November, 2022
This work is licensed under a Creative Commons BY-NC-SA 4.0 International License
